Tuesday, September 14, 2010

love: fall wreaths

so as my crafty friend Marti suggested, here are some of my favorite ideas for a fall door wreath....

Rachel (from P.S. I Quilt) put together this super cute fabric scrap wreath:
V and Co.'s pinecone wreath:
Centsational Girl's magnolia wreath (created from leaves she gathered at the park!):
Reynie's southern wine cork wreath: (You can also find a good tutorial video from Nikki in Stitches here.)
T. Matthews' recycled magazine wreath:
A new way to reuse an old grapevine wreath...Super QT's burlap wreath:
Alisa Burke's driftwood wreath (Anyone want to scour the shores of the Mississippi with me?):
And finally, my favorite and most quirky design of the bunch..... Sunset's farmer's market radish wreath:
finding these fun ideas makes me want to go wander the aisles of my local grocer to find my own quirky wreath making supplies! Maybe you will see my own fall wreath up in a few days!
Happy Tuesday!

Monday, September 13, 2010

create: chicken wire memory frame

here is a super fun and easy project that i got from ashleyannphotography.com...click HERE to see her original design....heres mine:

basically, take an old frame (i found mine in a dumpster)....paint it up with your favorite color (i used the same yellow that was used for my shutter headboard)....while you have your paint out, go ahead and paint up some clothes pins in complimenting colors (mine are barn red, avocado green, and yellow).....staple some chicken wire (thanks Ace Hardware!) to the back, along with something to hang it with (i chose knotted twine)....mount on the wall, clip up your photos, and you are done!
and heres the best part about this project...my step-sister-in-law (long title!) gave me these BEAUTIFUL frames this past weekend...which will be perfect for trying out variations of this project...im thinking...smaller chicken wire could turn this into an earring/jewelry holder? does anyone have any brilliant ideas of how else to use these lovely frames?

Tuesday, August 24, 2010

create: upcycled shutter headboard

i found this photo a while ago...fell in love...and vowed to recreate it in my own home...eventually :-)
so when i noticed some old broken shutters leaned up against a dumpster near our house, i IMMEDIATELY enlisted my husband to carry them home!
they were a dirty white color, so i brought them to life with this fun antique yellow...a color inspired by our new bed linens (thank you Better Homes and Gardens!)
so i brushed a quick, imperfect coat of paint over the shutters, let them dry, then brought them in and stood them up behind our antique sleigh bed (thanks craigslist!)...they seemed a bit plain, so i grabbed a stack of old frames, and a family name plaque i had painted up a while ago...everything is attached with twine (my favorite of craft supplies)....
the family name plaque is hung with a long, oddly knotted piece of twine...i honestly couldnt explain to you how it worked out...but for the rest, i used my staple gun to attach a short piece of twine to the back of each frame, then strung it through the shutter slats and tied it in the back...super easy, minimal tools needed....

you will notice that some frames are empty, while others have doilies inside...i simply grabbed some scrap fabric, doilies, and placed them behind the glass (well, plexiglass type stuff actually...i feel safer having that suspended above my head!)...

and there you have it...old shutters reborn! i love the color that they bring to our room (since we decided not to change the boring white walls)...and the backdrop they provide for all my mismatched picture frames...

happy tuesday!

Saturday, August 21, 2010

create: alphabet graffiti table revamp

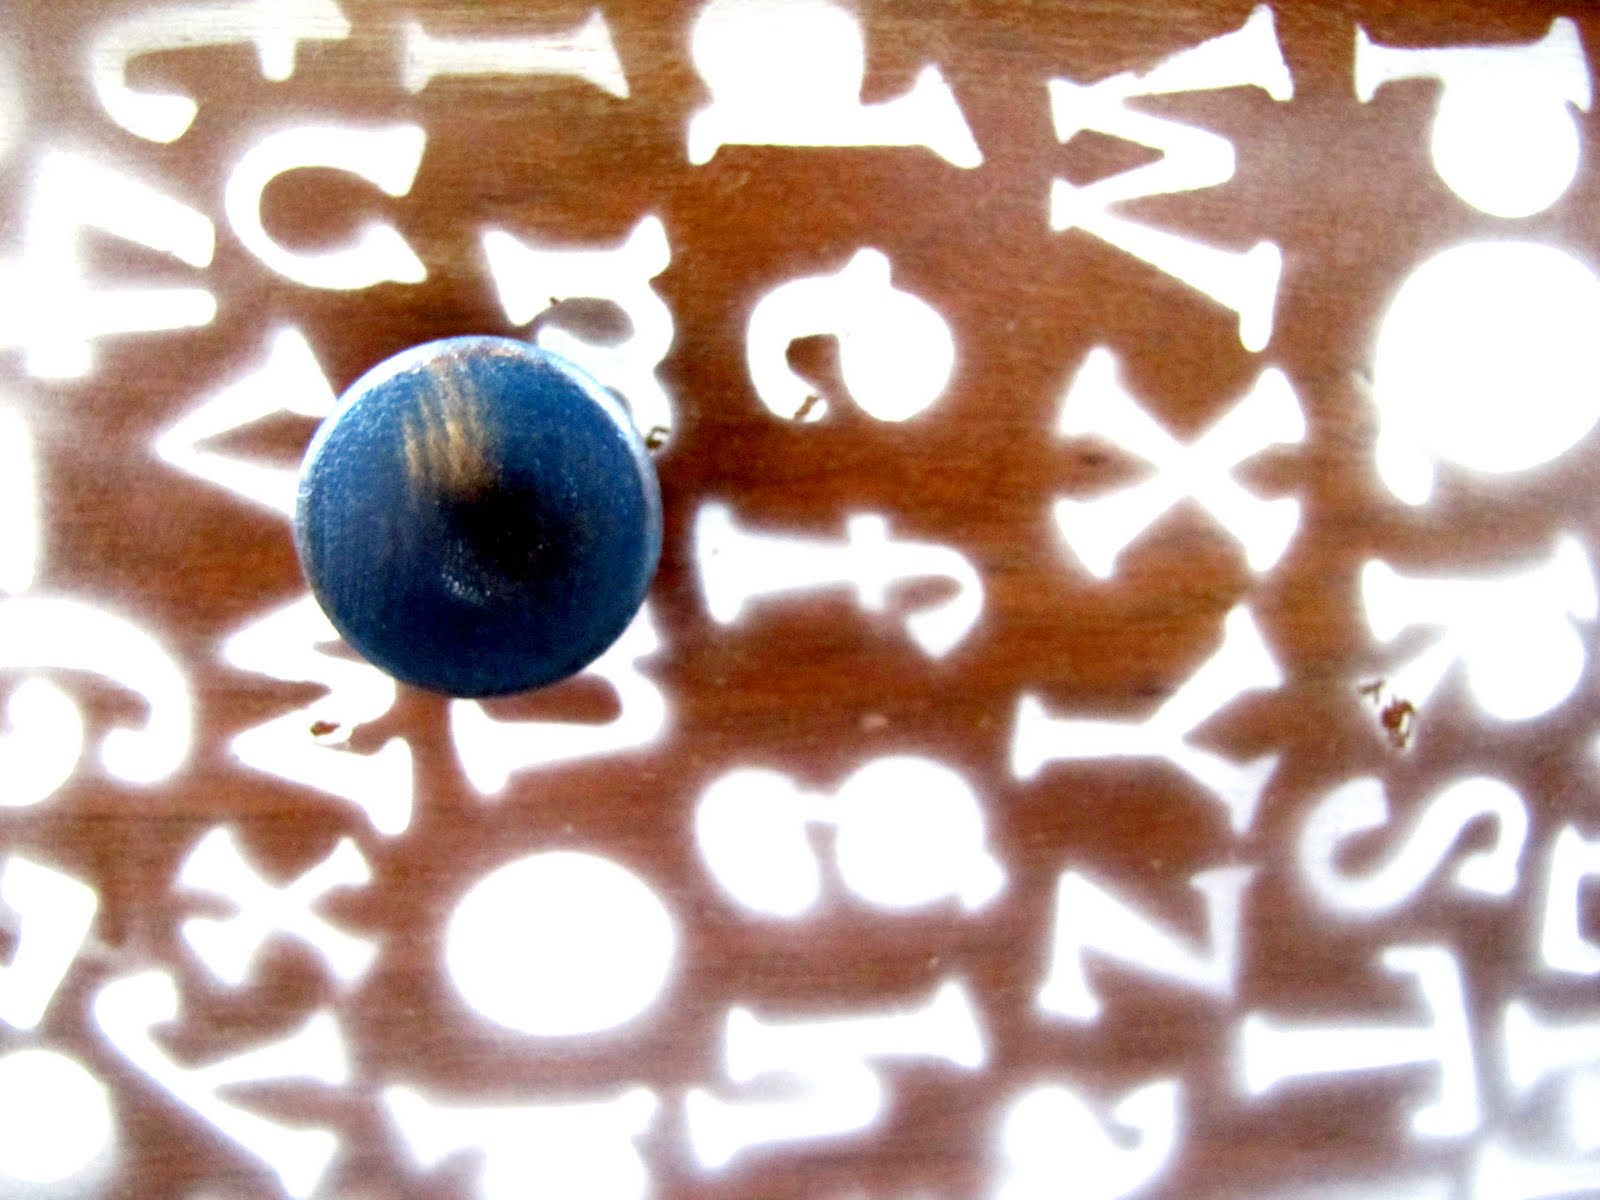
today was a productive saturday....in addition to doing a lot of apartment cleaning, i was able to sneak in a few projects :-) during an early morning run to my local Dollar Tree, I was delighted to snag this super-fun alphabet stencil....which i promptly used to give new life to a tired, old sewing table my hubby had found on the side of the road....

basically, i attacked this project with no preparation...just me, the table, stencil, can of spray paint, and a drop cloth....i half-hazardly held the stencil up against the table, spraying a quick coat of white spray paint as I went...as you can see, the paint job is FAR from perfect, but that was exactly the look i was going for....something a little crazy, a little fun.
once dry, i brought the table back inside and fitted it with a wooden knob that compliments the other navy blue furniture in the room....
heres a close-up of the legs: basically, i just held the stencil up, sprayed randomly, and hoped that i didnt miss any spots :-)
so, im kind of in love with this little table...if you reference the first photo at the top, you will see that it compliments the mismatched chairs in our little sitting area very nicely....one spray-painted the same shade of white, and the other whose seat is covered with a burlap "leap frog" bag left over from the potato-sack races at our wedding reception picnic (if you were there, you may share my fond memories!)
happy saturday!

Thursday, August 19, 2010

create: nightstand revamp

so my parents will be visiting us for the first time down in STL in two weeks...which means i have two weeks to get life in order, finishing several projects that have remained 1/2 done over the last months....

one such project is a makeover for our nightstands that we found on craigslist....i was drawn to them not only for the ridiculously low price, but the rustic feel...
i spent a while searching for the right handles, but i thought it easiest to follow suit with my red dresser, using twine to create a handle...
i simply took three strands of twine, braided them, then secured them inside the drawer with double knots...
for the rest of the "revamp" i simply brushed a coat of my favorite antique gold paint on the interior of each drawer, as well as the little decorative wooden knobs on the corners and lining the top. Once dry, I used a little square of sandpaper to rough-up the paint job...

so thats my super-simple nightstand revamp....you will see more bedroom projects in the coming days....a new bed set, throw pillows, shutter decor, etc....

Wednesday, July 28, 2010

love: new book and grocery fun!

so i picked this book up the other day...100 Best Health Foods...and i fell in love with it...its a quick read, an easy reference, and best of all, the 100 foods in this book are all normal, everyday foods that one could pick up at their local grocery...we have already tried some of the easy recipes, and they are all packed full of flavor!
one thing i gleaned from reading it was a better understanding of the health benefits of cooking with many herbs and spices....who knew that a sprinkle of this or that could give you so many vitamins and minerals??? i tend to gravitate toward the same garlic, onion, and pepper routine, but this book has made me want to be a little more adventurous with my seasonings!
so i got on a kick to revamp my spice collection, and someone had told me to try Jay International Foods on Grand (near Tower Grove Park if you are familiar with STL)...so last night, my husband and I stopped by....i spent a VERY long time browsing aisles that look something like this...
so many crazy foods...so many languages....it was all so exciting! after about 45 minutes, we left with a huge basket of freshly packed spices (1 pound containers for around $1.50/piece! I should never run out!)...garlic, rice noodles, south american coffee, and other goodies....
on our way out we grabbed some sesame seed honey candy....so addictive! and did you know that sesame seeds are a major source of calcium, magnesium, iron, and zinc? and if you have any struggles with arthritis, the copper content should ease your pain (or so my book says!)

so if you live in/near STL, make sure you try out Jay International Foods...and if you are interested in knowing what/why you are eating the foods you are, try out this book...not a life changer, but good for the regular types like me that simply wanting make informed cooking/eating decisions without having to shop at high priced specialty food stores...plus, they have some really great recipes (try the artichoke salad...great with steak!)

Tuesday, July 27, 2010

create: DIY shutter room dividers

so i thought one, pre-finished photo was better than no photos at all...my blog could really use a posting....

these are the shutter door room dividers that I have been working on...basically, the inspiration for this idea came from the fact that we have moved into a one bedroom with two living spaces, and thus we want to have a way to close off one living space, so as to host guests there without them feeling like they are sleeping in the middle of our lives...you know? and while the divider is not being used, it sits comfortably behind our sofa, offering an easy, no-nails-in-the-walls approach to wall decor....plus, its a great backdrop for my book page wreath!

so i found my local Habitat for Humanity ReStore (if you are not familiar, you MUST google it, find your nearest one, and visit!)...basically, they sell everything you could ever want for home remodeling (its all used and random of course, coming from homes they rehab, as far as i understand it)...so like a thrift store, any given day you will find totally different items....on the day i went, i was lucky enough to find all these shutters, plus the screen door in the middle for $5 or less each....i was even able to pick up the hinges i needed...something like 5 for a dollar...crazy cheap....

this photo is "pre-finished" seeing as i put on the hinges later...i am still waiting on some brilliant idea to come to me on what to cover the screen part of the center door in.....im thinking, burlap...though thats a lot of brown....a antique yellow would be yummy.....hmmm...any ideas?