Tuesday, August 24, 2010

create: upcycled shutter headboard

i found this photo a while ago...fell in love...and vowed to recreate it in my own home...eventually :-)
so when i noticed some old broken shutters leaned up against a dumpster near our house, i IMMEDIATELY enlisted my husband to carry them home!
they were a dirty white color, so i brought them to life with this fun antique yellow...a color inspired by our new bed linens (thank you Better Homes and Gardens!)
so i brushed a quick, imperfect coat of paint over the shutters, let them dry, then brought them in and stood them up behind our antique sleigh bed (thanks craigslist!)...they seemed a bit plain, so i grabbed a stack of old frames, and a family name plaque i had painted up a while ago...everything is attached with twine (my favorite of craft supplies)....
the family name plaque is hung with a long, oddly knotted piece of twine...i honestly couldnt explain to you how it worked out...but for the rest, i used my staple gun to attach a short piece of twine to the back of each frame, then strung it through the shutter slats and tied it in the back...super easy, minimal tools needed....

you will notice that some frames are empty, while others have doilies inside...i simply grabbed some scrap fabric, doilies, and placed them behind the glass (well, plexiglass type stuff actually...i feel safer having that suspended above my head!)...

and there you have it...old shutters reborn! i love the color that they bring to our room (since we decided not to change the boring white walls)...and the backdrop they provide for all my mismatched picture frames...

happy tuesday!

Saturday, August 21, 2010

create: alphabet graffiti table revamp

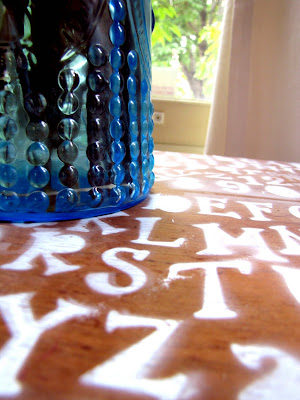
today was a productive saturday....in addition to doing a lot of apartment cleaning, i was able to sneak in a few projects :-) during an early morning run to my local Dollar Tree, I was delighted to snag this super-fun alphabet stencil....which i promptly used to give new life to a tired, old sewing table my hubby had found on the side of the road....

basically, i attacked this project with no preparation...just me, the table, stencil, can of spray paint, and a drop cloth....i half-hazardly held the stencil up against the table, spraying a quick coat of white spray paint as I went...as you can see, the paint job is FAR from perfect, but that was exactly the look i was going for....something a little crazy, a little fun.
once dry, i brought the table back inside and fitted it with a wooden knob that compliments the other navy blue furniture in the room....
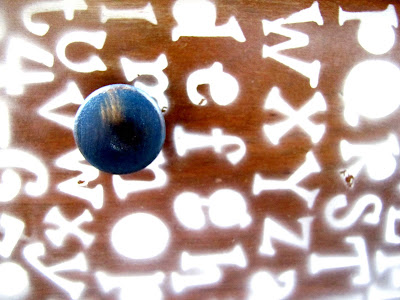
heres a close-up of the legs: basically, i just held the stencil up, sprayed randomly, and hoped that i didnt miss any spots :-)
so, im kind of in love with this little table...if you reference the first photo at the top, you will see that it compliments the mismatched chairs in our little sitting area very nicely....one spray-painted the same shade of white, and the other whose seat is covered with a burlap "leap frog" bag left over from the potato-sack races at our wedding reception picnic (if you were there, you may share my fond memories!)
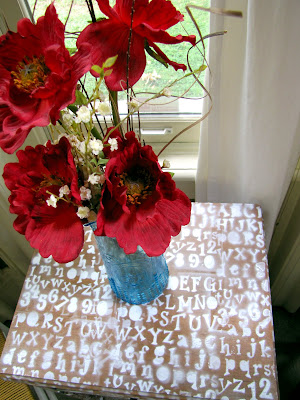
happy saturday!

Thursday, August 19, 2010

create: nightstand revamp

so my parents will be visiting us for the first time down in STL in two weeks...which means i have two weeks to get life in order, finishing several projects that have remained 1/2 done over the last months....

one such project is a makeover for our nightstands that we found on craigslist....i was drawn to them not only for the ridiculously low price, but the rustic feel...
i spent a while searching for the right handles, but i thought it easiest to follow suit with my red dresser, using twine to create a handle...
i simply took three strands of twine, braided them, then secured them inside the drawer with double knots...
for the rest of the "revamp" i simply brushed a coat of my favorite antique gold paint on the interior of each drawer, as well as the little decorative wooden knobs on the corners and lining the top. Once dry, I used a little square of sandpaper to rough-up the paint job...

so thats my super-simple nightstand revamp....you will see more bedroom projects in the coming days....a new bed set, throw pillows, shutter decor, etc....